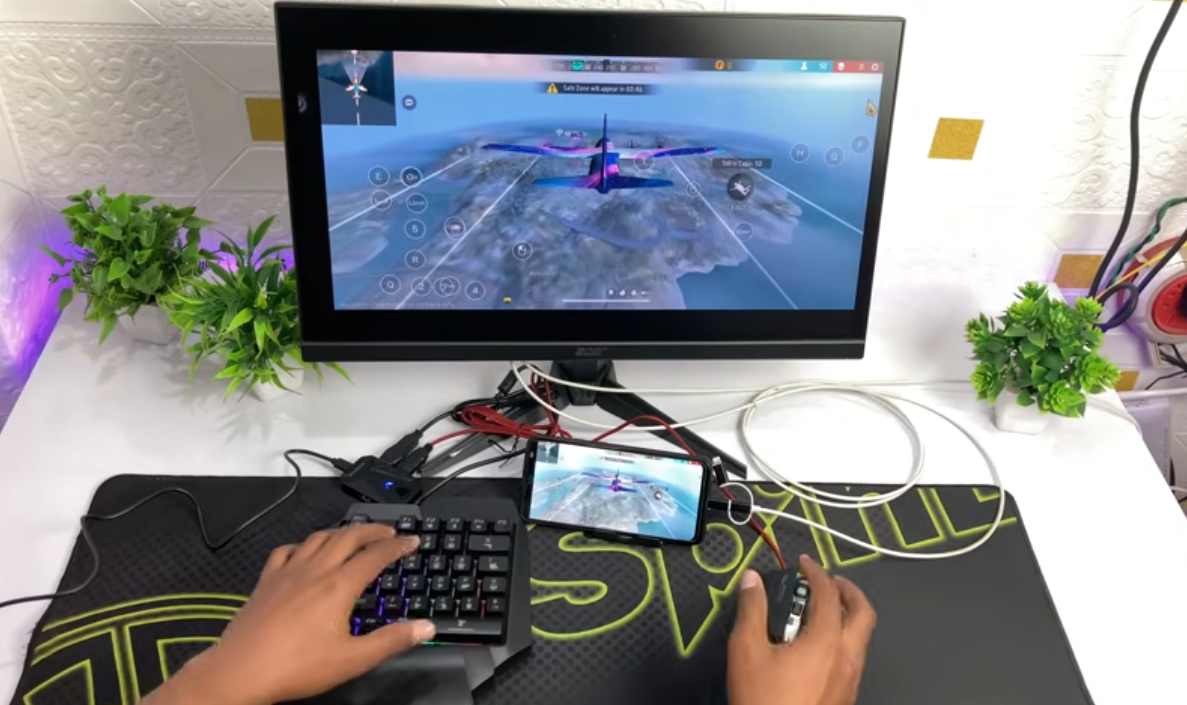
It feels like a puzzle, right? You’ve got this shiny new monitor, maybe a gaming console or a streaming stick, but no desktop computer in sight. You just want to get it all hooked up and working.
It can be super frustrating when technology doesn’t connect the way you expect. But don’t worry! Setting up a monitor without a PC is actually quite common and much simpler than you might think.
We’ll walk through it step-by-step so you can enjoy your screen in no time.
Setting up a monitor without a traditional PC involves connecting various devices like gaming consoles, streaming boxes, or laptops. This process focuses on identifying compatible ports, using the right cables, and configuring device settings for optimal display. It’s a straightforward way to expand your monitor’s use beyond a desktop computer.
Understanding Your Monitor’s Connections
So, you’ve got the monitor. The first thing to look at is the back or side. What kinds of ports does it have? This is the most important part. Think of these ports as little doorways for signals. Different devices use different doorways.
Most monitors today have a few standard types. You’ll likely see HDMI. This is super common for almost everything. It carries both video and audio. That means picture and sound all through one cable. It’s the easiest option.
You might also find DisplayPort. This is often used on higher-end monitors, especially for gaming. It’s great for fast refresh rates and high resolutions. Some devices have DisplayPort, but HDMI is more common for consoles and streaming gadgets.
Less common now, but still possible, are DVI or VGA ports. These are older. DVI carries video only. VGA is even older and only carries analog video. If your monitor has these, and your device has them too, they can work. But HDMI is usually better if you have the choice.
Checking your monitor’s manual is a good idea. It will tell you exactly what each port is for. Knowing your ports is the first big step. It helps you figure out what you can connect and what cables you’ll need.
Connecting Gaming Consoles: The Most Popular Use Case
Gaming consoles are probably the most popular reason people set up monitors without PCs. Think PlayStation, Xbox, Nintendo Switch. These are built to plug right into TVs and monitors.
Most consoles use HDMI. Your monitor almost certainly has an HDMI port. So, it’s usually a simple plug-and-play situation. You’ll need an HDMI cable. Most consoles come with one. If not, they are easy to find.
Just plug one end of the HDMI cable into the console. Then plug the other end into an HDMI port on your monitor. Now, turn on your console. Your monitor should automatically detect the signal. If it doesn’t, you might need to use your monitor’s remote or buttons. Look for a “Source” or “Input” button. You’ll select the HDMI input that your console is plugged into.
Some consoles might offer other connection types, but HDMI is the best for picture quality and ease. For example, newer consoles support high refresh rates. Your monitor needs to support these too. Check the specs for both your console and your monitor. This ensures you get the best gaming experience.
Streaming Devices: Netflix, Hulu, and More
Streaming sticks and boxes are also very common. Think Roku, Amazon Fire TV Stick, Apple TV, Google Chromecast. These are designed to plug into your TV’s HDMI port. So, they work just as well with a monitor.
The setup is very similar to a gaming console. You’ll use an HDMI cable. Plug the streaming device into the HDMI port on your monitor. Power it up. Make sure your monitor is set to the correct HDMI input.
Some streaming devices draw power from the HDMI port itself. Others need a separate power adapter. Make sure you plug in the power if it’s required.
The biggest thing to consider here is the resolution. Many streaming devices support 4K. If your monitor is 4K, you’ll get a great picture. If your monitor is 1080p (Full HD), the device will scale down the picture. It will still look good, but not as sharp as native 4K.
For devices like Chromecast or Fire TV Stick, you might need to connect them to your Wi-Fi network. This is done through the device’s on-screen menu, which will appear on your monitor.
Connecting Laptops and Other Computers
While you said “without a PC,” many people mean “without a desktop PC.” Laptops are a bit different but still fit this category. Laptops are designed to be portable computers.
You can easily connect a laptop to your monitor. Most laptops have HDMI ports. Some might have USB-C ports that support video output. Others might have older ports like Mini DisplayPort.
If your laptop has HDMI, it’s the same as connecting a console. Plug one end into the laptop, the other into the monitor. You might need to tell your laptop to use the external monitor. Often, this happens automatically. If not, you can usually press a function key (like F8 or F10) with the Fn key pressed. This brings up display options. You can choose to duplicate your screen or extend it.
If your laptop only has USB-C, you’ll need a USB-C to HDMI adapter or a USB-C to DisplayPort adapter. Make sure the adapter is for video output. Not all USB-C ports support this. Check your laptop’s specifications.
Other Devices and Creative Uses
What else can you connect? Think about Blu-ray players, cable boxes, or even older devices like VCRs if you have the right adapters. If a device has an HDMI output, it can likely connect to your monitor.
Some people even use monitors for security cameras or DVR systems. These often have HDMI or other video outputs. You can connect them to your monitor to view the footage.
Consider devices that might not have video outputs. For instance, some audio equipment might have ports that could be adapted. But for simple video, HDMI is your best friend.
It’s worth noting that some older or specialized devices might require adapters. For example, connecting a device with older video outputs (like composite or component) to a modern HDMI monitor usually needs a converter box. These boxes take the old signal and turn it into an HDMI signal. They can sometimes affect picture quality, but they get the job done.
Quick Connections Cheat Sheet
- Gaming Console (PS5, Xbox Series X, Switch): HDMI cable is best. Connect console HDMI out to monitor HDMI in. Select correct HDMI source on monitor.
- Streaming Stick (Fire TV, Roku, Chromecast): HDMI cable. Connect stick to monitor HDMI. Power the stick if needed. Connect to Wi-Fi via monitor display.
- Laptop: HDMI port is easiest. Use HDMI cable. Select correct HDMI source on monitor. Laptop may need display settings adjusted via function keys or OS settings.
- Older Devices (DVD Player, Cable Box): Check for HDMI. If not, look for DVI or VGA. Older composite/component devices will need an analog-to-HDMI converter.
Troubleshooting Common Issues
Even with simple setups, things can go wrong. Don’t get discouraged! Most problems are fixable.
The most common issue is no picture. Why is this happening?
First, check all cables. Are they plugged in securely at both ends? Sometimes a cable just comes a little loose.
Next, check the monitor’s input source. This is vital. If your monitor is set to HDMI 1 but your device is plugged into HDMI 2, you won’t see anything. Use the monitor buttons or remote to cycle through the inputs.
Then, try a different HDMI cable. Cables can go bad. This is more common than you’d think.
Make sure the device you’re connecting is actually on and sending a signal. A blinking light on the device might mean it’s on standby.
Another issue is no sound. If your device is connected via HDMI, sound should come through automatically.
If there’s no sound, first check the volume on your monitor. Is it turned up? Is it muted?
Check the device’s audio settings. Does it have an option to send audio through HDMI? Some devices have separate audio settings.
If your monitor doesn’t have built-in speakers, you won’t get sound from the monitor itself. You would need to connect separate speakers to the audio output of your source device (like the console or streaming box).
Sometimes, the picture might look stretched or fuzzy. This often means the resolution settings are off.
On your connected device (console, laptop, etc.), go to its display or video settings. Look for resolution. Set it to the monitor’s native resolution. For example, if your monitor is 1920×1080, select that. If your monitor is 4K (3840×2160), select that.
Avoid using very old cables for high resolutions or high refresh rates. Newer HDMI cables (HDMI 2.0 or 2.1) are better for 4K and faster speeds.
If you’re connecting a laptop and the screen is blank, ensure the laptop isn’t asleep. Press a key or the power button. Also, try the display-toggle function key.
Monitor Input vs. Device Output
Monitor Input: This is where your monitor receives signals. Usually labeled HDMI 1, HDMI 2, DisplayPort, etc.
Device Output: This is where your device sends signals. Usually labeled HDMI Out, DisplayPort Out, etc.
The Goal: Match the correct monitor input with the device output using the right cable.
Example: Plug your Xbox’s HDMI Out into your monitor’s HDMI 1 Input. Then, select HDMI 1 on your monitor’s input menu.
When is a Separate PC Really Needed?
Most modern devices work fine with just a monitor. But there are times when a PC offers more.
For complex video editing or high-end gaming that pushes the limits, a powerful PC is often better. It offers more processing power and flexibility.
If you need to run specific software that only exists on a computer, like desktop publishing or complex design programs, you’ll need a PC.
Many older devices might require a computer to set them up initially. For example, some older cameras or specialized hardware might need PC software for configuration.
For everyday tasks like watching movies, playing console games, or browsing the web using a laptop, a separate desktop PC is usually not necessary. The devices you connect handle these functions well.
Choosing the Right Cables and Adapters
The cable is the bridge. It’s crucial.
For most modern devices, HDMI is the standard.
If you have a high-end gaming monitor and a graphics card that supports it, DisplayPort is often preferred for its higher bandwidth. This means it can handle more data, leading to higher refresh rates and resolutions.
When buying cables, look for specifications. For 4K at 60Hz, you need an HDMI 2.0 cable. For 4K at 120Hz or 8K, you’ll need an HDMI 2.1 cable. These are sometimes labeled “High Speed” or “Ultra High Speed.”
If you need to connect older devices, you might need adapters. A common one is a DisplayPort to HDMI adapter. Or a USB-C to HDMI adapter for newer laptops. Always ensure the adapter is for video output. Some USB-C adapters are only for data transfer.
If you’re using an older device that only has composite (red, white, yellow cables) or component (red, green, blue video cables) outputs, you’ll need an analog-to-HDMI converter. These are powered boxes. They take the old signal and convert it to a digital HDMI signal. They can sometimes introduce a slight delay or reduce picture quality, but they make older devices compatible with modern monitors.
Understanding Monitor Refresh Rates and Resolution
When you connect devices, you want the best picture. Two things matter: resolution and refresh rate.
Resolution is like how many tiny dots make up the picture. Higher resolution means more dots, so a sharper, more detailed image.
Common resolutions:
1080p (Full HD): 1920 pixels wide by 1080 pixels tall. Good for most uses.
1440p (QHD or 2K): 2560 pixels wide by 1440 pixels tall. Sharper than 1080p.
4K (UHD): 3840 pixels wide by 2160 pixels tall. Very sharp, great for movies and games.
Refresh Rate is how many times the screen updates the image each second. It’s measured in Hertz (Hz).
60Hz: Standard for most monitors and TVs.
120Hz, 144Hz, 240Hz: Found on gaming monitors. They make motion look much smoother, especially in fast-paced games.
When you connect a device, it will try to use its best settings. Your monitor needs to support those settings.
If your PS5 can output 4K at 120Hz, but your monitor only supports 1080p at 60Hz, you’ll have to choose. The console will likely default to a lower setting or give you an error. You’ll need to go into the console’s display settings and select a resolution and refresh rate your monitor can handle.
The same goes for laptops. If your laptop screen is 1080p, but you connect it to a 4K monitor, you can choose to run the monitor at 4K for a sharper image, or at 1080p if it looks better or if the laptop struggles to push that many pixels.
Always check the specifications for both your device and your monitor to ensure compatibility. This prevents disappointment and helps you get the best visual experience.
Resolution vs. Refresh Rate
Resolution (Sharpness):
- 1080p: Good detail.
- 1440p: Better detail than 1080p.
- 4K: Excellent detail, very clear.
Refresh Rate (Smoothness):
- 60Hz: Standard motion.
- 120Hz+: Very smooth motion, ideal for fast games.
Important: Both your device and monitor must support the setting for it to work.
Audio Considerations
When you connect devices via HDMI, audio usually travels through the same cable. Your monitor might have built-in speakers. They are often basic, but good enough for some uses.
However, many monitors, especially those designed for gaming or professional use, do not have speakers. They focus on the video signal. In these cases, you’ll need to get sound elsewhere.
How?
Connect speakers to your source device: If you’re using a gaming console or streaming box, it likely has an audio output (like a headphone jack or optical audio out). You can connect external speakers or a soundbar directly to the console or box.
Use a soundbar with HDMI ARC: If your monitor has an HDMI port labeled “ARC” (Audio Return Channel), it can send audio back to a compatible soundbar. This is a cleaner setup with fewer cables.
Headphones: Most consoles and many streaming devices have headphone jacks. You can plug headphones directly into them for private listening.
It’s essential to check your monitor’s specifications for audio capabilities. If it doesn’t have speakers, plan for an external audio solution.
Setting Up Multiple Devices
What if you want to connect more than one device? Like a gaming console and a streaming stick?
Most monitors have multiple HDMI ports. You can simply plug each device into a different port. Then, use the monitor’s input selector to switch between them.
If your monitor has limited ports, you have a few options:
HDMI Switcher: This is a small box with multiple HDMI inputs and one HDMI output. You plug all your devices into the switcher. Then, you connect the switcher to your monitor. You can then press a button on the switcher to choose which device’s signal goes to the monitor.
AV Receiver: If you have a home theater system, an AV receiver can act as a central hub for all your video and audio devices. It has many HDMI inputs and one output that connects to your monitor.
Using an HDMI switcher is a very common and affordable solution for adding more ports. Make sure to get one that supports the resolution and refresh rate you need. For example, a 4K HDMI switcher is needed for 4K devices.
Connecting Multiple Devices
Scenario 1: Monitor with Multiple HDMI Ports
- Connect each device (console, stick) to a separate HDMI port on the monitor.
- Use the monitor’s input selector to switch between devices.
Scenario 2: Monitor with Limited HDMI Ports
- Use an HDMI Switcher: Connect devices to the switcher, then the switcher to the monitor.
- Use an AV Receiver: Connect devices to the receiver, then the receiver to the monitor.
Checking Your Monitor’s Settings
Once everything is connected, don’t forget to explore your monitor’s own settings. These are usually accessed by buttons on the monitor itself or a small remote.
What can you adjust?
Brightness and Contrast: These affect how light or dark the image is and how much difference there is between light and dark areas.
Color Settings: You can adjust hue, saturation, and color temperature. Some monitors have preset modes like “Movie,” “Gaming,” or “Reading.”
Sharpness: This controls how crisp the edges of objects look. Too much can make the image look artificial.
Aspect Ratio: This is how the image fills the screen. Common options are “16:9” (widescreen), “4:3” (older square format), or “Zoom.” Make sure this matches your device’s output for the best look.
Picture Modes: Many monitors have presets for different activities. “Game” modes might reduce input lag. “Movie” modes might enhance colors.
Experiment with these settings to find what looks best for your eyes and for the content you’re viewing. Remember, you can always reset them to factory defaults if you don’t like the changes.
When to Worry and When It’s Normal
It’s completely normal for a monitor to show a blank screen when no device is connected or when the wrong input is selected. That’s not a problem.
It’s also normal for the picture to look a bit off if the resolution settings aren’t quite right. A quick trip to the device’s settings menu usually fixes it.
You might worry if:
A brand new cable doesn’t work at all.
Your monitor shows strange lines, colors, or patterns that don’t go away.
The monitor flickers constantly, even after trying different cables and devices.
You hear a buzzing or humming sound from the monitor itself.
In these cases, it might be a hardware issue with the monitor or the device you’re connecting. You may need to contact the manufacturer for support or consider returning the product if it’s new. Always keep your receipts and warranty information handy.
Trying a different HDMI port on the monitor or a different cable can often rule out a faulty port or cable. If the problem persists across all ports and cables, it points more towards a device issue or a monitor defect.
Quick Checks for Setup Success
- Cables: Firmly plugged in? Try a different one.
- Input Source: Monitor set to the correct HDMI/DisplayPort?
- Device Power: Is the connected device turned on and sending a signal?
- Resolution Settings: Match device output to monitor’s native resolution.
- Audio: Monitor speakers on? Or external speakers connected correctly?
Conclusion
Setting up a monitor without a PC is all about understanding connections, using the right cables, and making sure your devices and monitor are talking to each other. Whether it’s for gaming, streaming, or just using a laptop, the process is usually quite simple. Don’t be afraid to look at the ports, read your manuals, and try different settings. With a few basic steps, you’ll have your monitor up and running with all your favorite devices, expanding its usefulness far beyond just a computer screen. Enjoy your new setup!