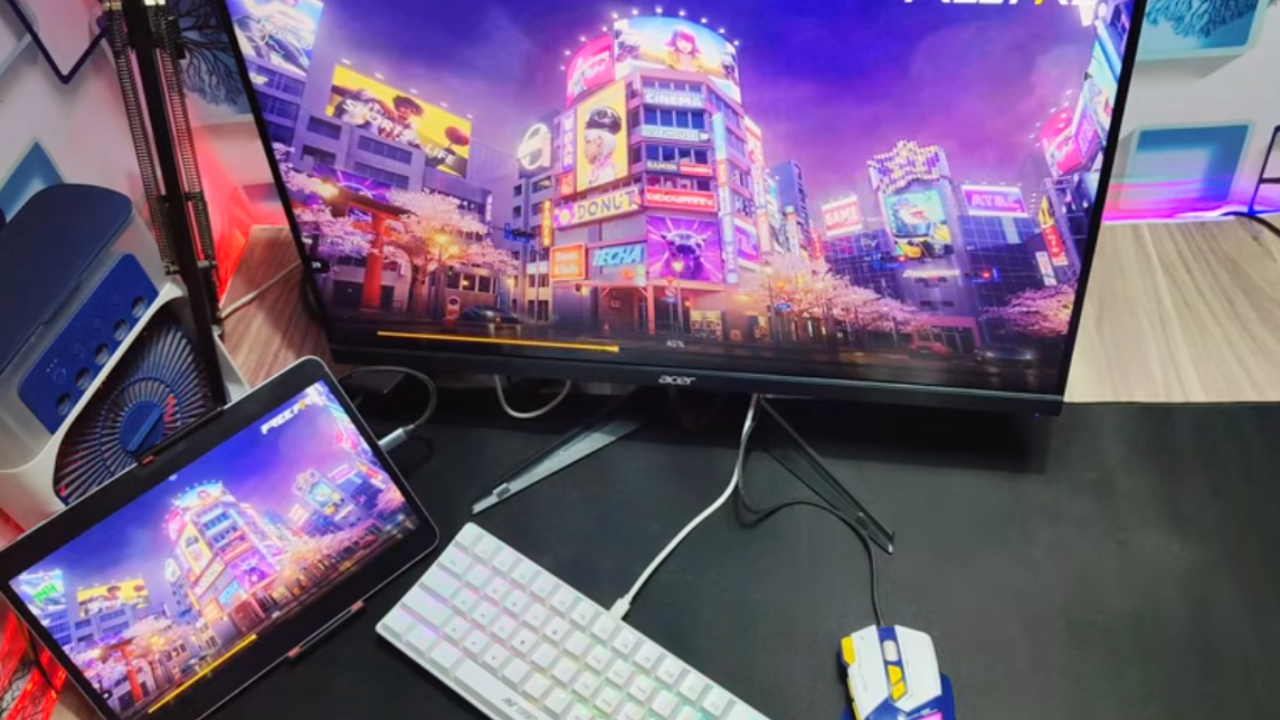
Most gaming monitors are built with flexibility in mind. They need to connect to all sorts of different devices. So, the first thing to check is what kinds of ports your monitor has on the back or bottom.
This is your gateway to using it without a PC.
The most common ports you’ll find are HDMI. Many newer monitors also have DisplayPort. Some might even have USB-C.
Older monitors could have DVI or VGA, but these are less common on gaming models now.
Knowing these ports is key. It tells you what kind of devices you can plug in directly. Think of them like different keys that unlock different doors.
Each port type has its own strengths.
Connecting Your Console: The Obvious Choice
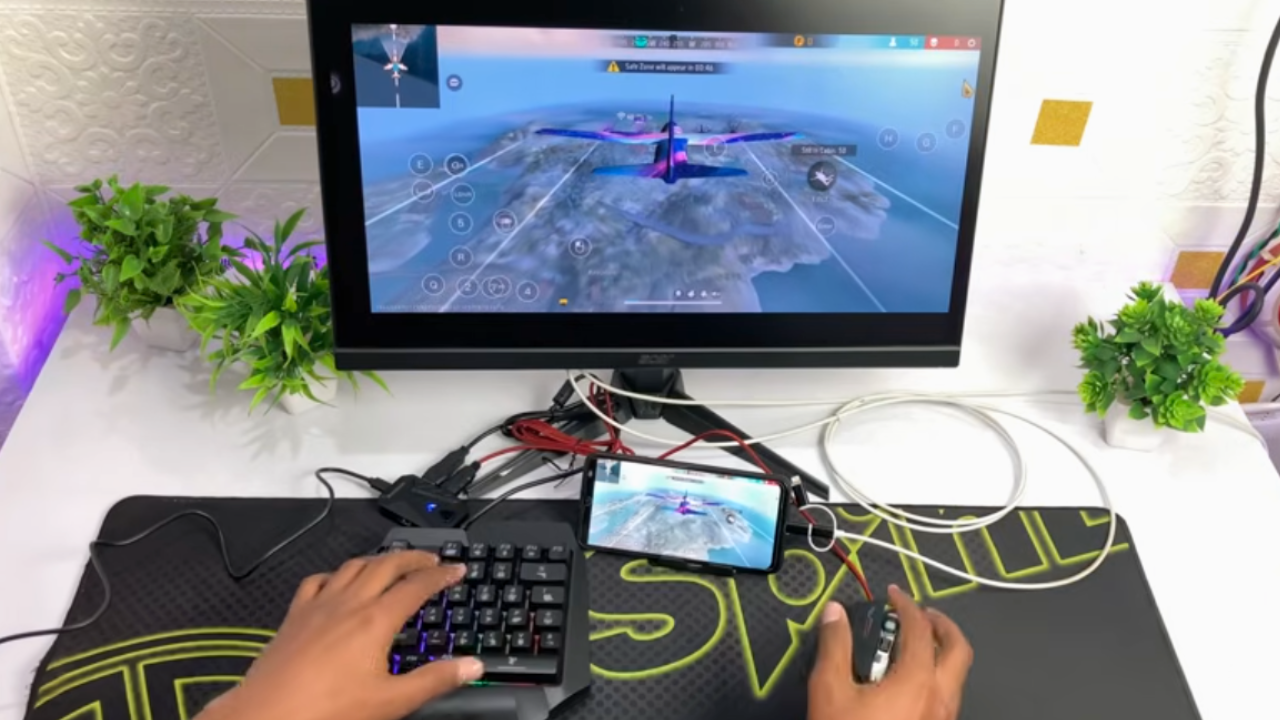
If you’re a gamer, chances are you have a game console. This is the most straightforward way to use your gaming monitor without a PC. Modern consoles like the PlayStation 5, Xbox Series X/S, and even the Nintendo Switch are designed to work with monitors.
Simply grab an HDMI cable. Plug one end into your console’s HDMI out port. Plug the other end into one of your monitor’s HDMI in ports.
Turn on your console, and then turn on your monitor.
Your monitor should automatically detect the signal. You might need to select the correct input source on your monitor. Look for a button on the monitor that says “Input,” “Source,” or has an arrow icon.
Press it until you see your console’s screen.
This is where the gaming monitor really shines. You’ll get high refresh rates, low response times, and vibrant colors. This makes games look and feel amazing.
Even if your PC is broken, your console can still offer a top-notch gaming experience on your monitor.
What about audio? Most HDMI cables carry audio signals. Your monitor might have built-in speakers.
Or, you might be able to plug headphones or external speakers into your monitor’s audio out jack. This is handy for immersive sound.
Some consoles might support DisplayPort too, but HDMI is the standard. Always use the latest HDMI version your console and monitor support for the best picture quality. This usually means HDMI 2.0 or 2.1.
Console Gaming Monitor Setup
Console: PlayStation 5, Xbox Series X/S, Nintendo Switch, etc.
Cable: HDMI (ensure it’s high speed for newer consoles)
Connection: Console HDMI Out -> Monitor HDMI In
Monitor Settings: Select HDMI input, adjust picture mode (e.g., “Game Mode”).
Audio: Connect headphones or speakers to monitor’s audio out if available.
Streaming Devices: A World of Entertainment
Beyond gaming, your monitor is a fantastic screen for streaming. Devices like Apple TV, Roku, Amazon Fire TV Stick, and Google Chromecast plug right in.
These devices typically use HDMI. So, the connection process is very similar to setting up a game console. Plug the streaming device into the monitor’s HDMI port.
Power up the streaming device and your monitor.
Again, select the correct HDMI input on your monitor. You’ll then see the familiar interface of your streaming device. This turns your gaming monitor into a smart TV screen.
This is a great way to enjoy movies, TV shows, and YouTube without needing a computer. Your monitor’s high resolution and color accuracy will make your favorite content look stunning.
For these devices, refresh rates are usually less critical than for gaming. However, a gaming monitor often has better color reproduction and brightness than a standard TV. This can make a big difference for your viewing experience.
Some advanced streaming boxes might also offer DisplayPort. But HDMI is the most common and easiest to use. Just make sure you have the right cable for your device.
Streaming Device Setup on Monitor
Device: Apple TV, Roku, Fire Stick, Chromecast, etc.
Cable: HDMI
Connection: Streaming Device HDMI Out -> Monitor HDMI In
Monitor Settings: Select correct HDMI input.
Tip: Use a monitor with good color accuracy for the best movie watching.
Laptops: A Powerful Combo
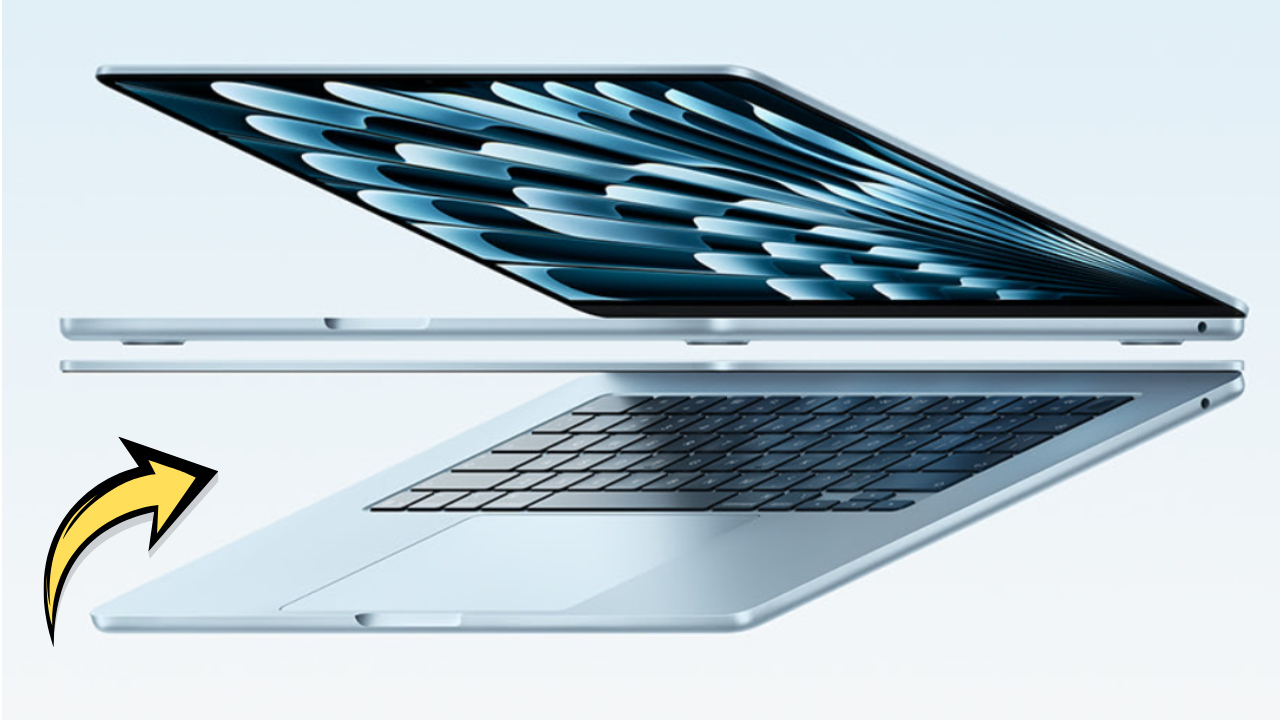
What if you have a laptop but don’t want to use its built-in screen? Your gaming monitor is an excellent external display for a laptop.
Laptops usually have HDMI ports. Many also have USB-C ports that can output video. Some might have DisplayPort or Thunderbolt.
Check your laptop’s specifications to see what video outputs it offers.
If your laptop has HDMI, use an HDMI cable. Connect it from the laptop to the monitor. You can then extend your display or mirror your laptop’s screen onto the larger, higher-quality gaming monitor.
If your laptop has USB-C, you might be able to use a USB-C to HDMI adapter or a direct USB-C cable if your monitor supports it. USB-C can often carry video, data, and even power. This can simplify your setup.
Using your gaming monitor with a laptop is a game-changer for productivity. You get more screen real estate. This makes multitasking easier.
Plus, you get the benefits of your monitor’s faster refresh rate and better response time. This is especially nice if you do any gaming on your laptop.
To use the monitor as an external display, you’ll likely need to adjust your laptop’s display settings. On Windows, right-click on the desktop and select “Display settings.” On macOS, go to System Preferences > Displays.
You can choose to “Extend these displays” to have two separate workspaces. Or, you can “Duplicate these displays” to show the same thing on both screens. Many people prefer to extend their display for more working room.
Remember to check your monitor’s settings. You might want to adjust the refresh rate or resolution to match your laptop’s capabilities. This ensures you get the best performance.
Laptop as a Desktop Setup
Device: Laptop (with HDMI, USB-C, DisplayPort output)
Cable: HDMI, USB-C to HDMI adapter, or USB-C to USB-C cable.
Connection: Laptop Video Out -> Monitor Video In
Laptop Settings: Choose “Extend” or “Duplicate” display.
Monitor Settings: Adjust refresh rate and resolution.
Experience Boost: Enjoy a larger, more responsive workspace.
Old School Consoles & Devices: Bringing Back the Classics
What about older consoles? Think Nintendo 64, PlayStation 2, or original Xbox. These often use composite or component video outputs, which use RCA cables (the red, white, and yellow plugs).
Most modern gaming monitors do not have these older input types. You’ll likely need an adapter or converter. A common solution is an RCA to HDMI converter.
This box takes the analog signal from your old console and converts it into a digital HDMI signal that your monitor can understand.
These converters vary in quality. Some are better than others. A good converter can make your retro games look surprisingly decent on a modern display.
A cheap one might introduce lag or image noise.
So, if you have a collection of retro games, you can still enjoy them on your gaming monitor. It just takes an extra step and potentially a converter box. This is a fun way to relive some gaming history.
It’s important to note that older consoles will not take advantage of your monitor’s high refresh rate or low response time. They simply don’t output that kind of signal. But, they will display correctly, and the image quality will often be better than on the old CRT TVs they were designed for.
Retro Gaming Converter Setup
Device: Older Console (N64, PS2, etc.)
Cable: Composite (RCA) or Component cables from console.
Converter: RCA/Component to HDMI converter box.
Connection: Console RCA/Component Out -> Converter Box In -> Converter Box HDMI Out -> Monitor HDMI In
Monitor Settings: Select HDMI input.
Tip: Research converter quality for best results.
Setting Up for Optimal Experience
Once you have your device connected, you’ll want to fine-tune your monitor’s settings. This makes a big difference in how everything looks and performs.
Picture Mode: Most gaming monitors have different picture modes. “Game Mode” is usually the best for consoles and gaming laptops. It often reduces input lag and boosts contrast.
Other modes like “Movie,” “Text,” or “Standard” might be better for specific uses.
Refresh Rate: If your connected device supports a higher refresh rate (like a gaming console), make sure your monitor is set to that rate. You usually adjust this in your device’s display settings. Your monitor should then be able to display it.
Some monitors let you set the refresh rate in their on-screen menu too.
Resolution: Always try to match the native resolution of your monitor. If your monitor is 1440p, try to get your device to output at 1440p. If it’s 4K, aim for 4K.
If your device can’t output that resolution, it will scale it, which can look a bit blurry.
HDR (High Dynamic Range): If both your monitor and your connected device support HDR, enable it! This provides much better contrast and a wider range of colors. It makes movies and games look incredibly vibrant and realistic.
Make sure it’s enabled on both the device and the monitor.
Adaptive Sync (G-Sync/FreeSync): If your monitor and device support adaptive sync, turn it on. This technology synchronizes your monitor’s refresh rate with your device’s frame rate. This eliminates screen tearing and stuttering.
It makes motion much smoother. It’s primarily for gaming but can help with video playback too.
Brightness and Contrast: Adjust these to your liking and your room’s lighting. You want a picture that is clear and comfortable to look at.
Color Settings: Some monitors have advanced color settings. If you’re watching movies, you might prefer a warmer color temperature. For gaming, a more neutral setting might be better.
Experiment to see what you like best.
When to Worry: Understanding Limitations
While you can connect many devices, it’s important to know your monitor’s limitations. Not every device will work perfectly, and some connections have downsides.
Input Lag: Even with “Game Mode” on, some monitors have inherent input lag. This is the delay between an action on your controller and when you see it on screen. It’s usually small on gaming monitors, but very sensitive games or people might notice it.
Audio Output: Many gaming monitors have basic built-in speakers. They are often not very powerful or high-quality. You might prefer to connect headphones directly to your console or streaming device, or to a separate speaker system.
Port Availability: If you want to connect multiple devices, you might run out of HDMI ports. You can use an HDMI switch or a receiver to manage multiple inputs. However, this adds complexity and potential for signal degradation.
Unsupported Resolutions/Refresh Rates: Older devices or some niche devices might output signals that your monitor doesn’t support. In these cases, you might get no picture, a distorted picture, or a warning message.
Converter Quality: As mentioned with retro consoles, the quality of adapters and converters is crucial. A poor converter can ruin the experience by adding lag, reducing resolution, or creating visual artifacts.
USB-C Limitations: Not all USB-C ports on laptops support video output. Some are only for charging or data transfer. Always check your laptop’s specifications before buying a USB-C cable for video.
Similarly, not all monitors with USB-C ports can accept video input over that port.
Power Requirements: Some devices, like certain older consoles, might not draw enough power from a monitor’s USB port if you’re using a USB-powered adapter. They might need their own dedicated power supply.
Real-World Scenarios
Let’s imagine some common situations where using your gaming monitor without a PC makes sense.
Scenario 1: The Console Player’s Dream Setup
Sarah just got the latest PlayStation. Her old TV is bulky and a bit dim. She has a 27-inch 1440p 144Hz gaming monitor from when her PC was working.
She connects her PS5 via HDMI. She sets the PS5 to output 1440p at 120Hz (if supported). The monitor’s Game Mode is activated.
Sarah is blown away by how sharp and smooth everything looks. The vibrant colors make her favorite RPG come alive. She plugs her headphones into the monitor’s audio jack for immersive sound.
Scenario 2: The Streamer’s Second Screen
Mark is a budding streamer. His main gaming PC is downstairs, but he wants to manage his chat and stream software upstairs. He has a laptop.
He connects his laptop to his 32-inch 4K gaming monitor using a USB-C cable. The monitor supports USB-C video input and power delivery. His laptop charges while displaying the extended desktop.
Mark can now see his chat clearly on the large, crisp monitor while playing his game on his laptop screen. The high refresh rate makes scrolling through chat feel fluid.
Scenario 3: The Movie Buff’s Home Theater Upgrade
David loves watching movies. He has a newer streaming stick that supports 4K HDR. His old TV’s black levels are washed out.
He connects his streaming stick to his ultrawide gaming monitor. He enables HDR in the streaming stick’s settings and on his monitor. The monitor’s deep blacks and bright highlights make the movie experience far more cinematic.
Even though it’s not a traditional TV, the monitor’s panel technology delivers a stunning picture.
Scenario 4: The Retro Enthusiast’s Nostalgia Trip
Emily found her old Nintendo 64. She misses playing classic games. Her modern monitor has no RCA inputs.
She buys a simple RCA to HDMI converter. She connects the N64 to the converter, then the converter to her monitor via HDMI. She selects the correct input.
The game looks surprisingly clear on the high-resolution screen. It’s not perfect, but it’s a huge improvement over the fuzzy image she remembers from her childhood.
Tips for Maximizing Your Monitor’s Use
Here are some quick tips to make the most of your gaming monitor without a PC.
- Keep Cables Organized: A tidy setup prevents confusion and accidental unplugging.
- Update Firmware: Check your monitor manufacturer’s website for firmware updates. These can sometimes improve performance or add features.
- Invest in a Good HDMI Switch: If you have multiple HDMI devices, a powered HDMI switch can be very useful.
- Consider a USB-C Hub: For laptops with limited ports, a USB-C hub can offer HDMI, USB-A, and Ethernet connections.
- Test Different Picture Modes: Don’t stick to “Game Mode” if another mode looks better for movies or general browsing.
- Calibrate if Needed: For critical viewing or gaming, consider using calibration tools or guides to get the most accurate colors.
- Clean Your Screen Regularly: A clean screen ensures the best viewing experience. Use a microfiber cloth.
- Protect Your Monitor: When not in use, consider a dust cover.
Frequently Asked Questions
Can I use a gaming monitor as a TV?
Yes! You can easily use a gaming monitor as a TV by connecting a streaming device (like Roku, Apple TV, Fire Stick) or a cable box via HDMI. Your monitor will display the content just like a TV screen.
Will my gaming monitor work with a PS5 or Xbox Series X?
Absolutely. Modern consoles like the PS5 and Xbox Series X/S connect via HDMI. Your gaming monitor will display games with high refresh rates and excellent picture quality, often better than a standard TV.
Do I need a special cable for my console or streaming device?
For most modern devices, a standard HDMI cable is all you need. Ensure it’s a high-speed HDMI cable for the best performance with 4K or high refresh rate content.
What about audio? Does a gaming monitor have sound?
Some gaming monitors have built-in speakers, though they are often basic. Many have an audio-out port where you can plug in headphones or external speakers for better sound. You can also connect audio devices directly to your console or streaming device.
Can I connect a laptop to a gaming monitor?
Yes, this is a very common and useful setup. You can connect your laptop via HDMI or USB-C. This gives you a much larger and often higher-quality display for your laptop.
What if my monitor doesn’t have enough HDMI ports?
If you need to connect more than one HDMI device, you can use an HDMI switch. This is a small box that lets you select which device’s signal is sent to the monitor. Some receivers also have multiple HDMI inputs.
Will my old consoles (like PS2 or N64) work?
Most modern monitors lack the old RCA (composite/component) inputs. You’ll likely need an adapter or converter that changes the older analog signal into an HDMI signal your monitor can understand.
Conclusion
So, the answer is a resounding yes! Your gaming monitor is a versatile display that can be used for much more than just a PC. From consoles and streaming devices to laptops and even retro gaming with a little help, you can unlock a world of entertainment and productivity.
Don’t let a lack of a PC limit your monitor’s potential. Explore those ports, grab the right cables, and enjoy your screen!